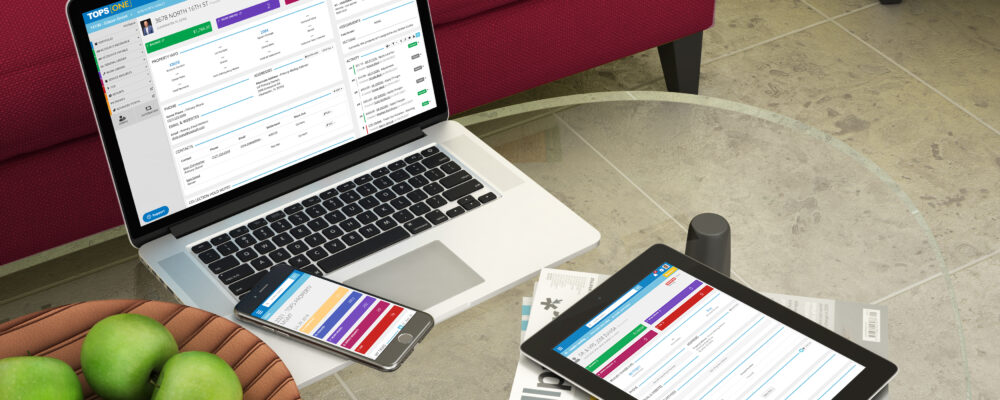
Property management companies are busy!
Enumerate Central alleviates time spent on most tasks. For example, a Enumerate client saves 250 hours per month in community visits. Site visits that used to take two hours, now only take 45 minutes with the all-in-one property management solution.
We get it…when it comes to change management, it can be overwhelming. But we also know Enumerate Central can save you time and make your life as a property manager much more manageable.
Maintaining your services amidst switching tools is imperative. Part of a smooth transition includes ensuring everything you need to manage your community is in place before your Enumerate Central set-up goes live.
These are the five easy steps you’ll need to follow to get started with Enumerate Central:
1. Watch a demo and view some testimonials.
2. Sign up.
3. Get to know the web-based system.
4. Log in and start setting up the foundation.
5. Complete admin, accounting, and management setup.
Follow this step-by-step plan, and you will be well on your way to total property management in no time.
Easily Make the Transition to Our Total Property Management Solution
Enumerate Central is a total property management system.
It’s easy-to-use and handles all the tasks of property management. Let’s dive into each of the five steps you’ll need to take to begin saving time with Enumerate Central.
Step 1 – Watch a Demo & View Testimonials
While we’re adamant that the comprehensive features of Enumerate Central will outperform any other program, you’ll want to do some homework to make sure we’re the best choice for you.
Start by watching a demo and viewing some of the testimonials from our customers. It’s always good to hear how a tool is working for others in a similar situation to you.
Step 2 – Get Started
Next, you’ll want to contact a Sales Rep to get started with Enumerate Central.
Your Sales Rep and Customer Success Rep will walk you through the process. Enumerate has an onboarding process set up with your success in mind, making transitioning as painless as possible.
Phases of Enumerate Implementation Process:
• Setup
• Success
• Training
• Go Live Prep & Import
• Live Phase or Fully Live
• Ongoing
Enumerate strives to provide a quick turnaround that depends on your company’s size and responsiveness. Our implementation can take a minimum of 30 days.
Step 3 – Get to Know Enumerate Central
You’ll work closely with an experienced implementation team; Enumerate assigns a dedicated Customer Success representative who is actively involved in solving problems and assisting with data entry.
Enumerate Central was designed with property managers’ needs in mind, including simple and easy navigation. We hope to make the transition as easy as possible for you!
We provide a variety of webinars, demos, and recorded training to meet your needs. Users train with sample communities like theirs before going live with Enumerate Central, so they’re familiar with the interface. The recorded training is a great option when onboarding new employees in the future.
Step 4 – Set Up the Foundation
We want to ensure all the basics are set up correctly right out of the gate so that you can avoid problems later.
We’ll assist you in setting up users, setting their permissions, and creating your Global Processes like Banks, Custom Fields, and Templates.
How a Enumerate Central customer sets up new clients: I give every new client and board member read-only access to Enumerate so they can log in and see the accounting and easily create custom reports for their specific questions.- Trevor Midgley, HOA Strategies
Before you start adding team members, create roles with personalized permissions for each. This process will make it easier when adding new users in the future.
Adding in bank information is simple. Just have your bank’s address, routing number, and any additional information needed to run Accounts Payable.
You’ll also need to edit your templates in Microsoft Word using merge codes and configure them in Enumerate. And finally, create custom fields to keep track of key information about your communities, owners, properties, and more.
Step 5 – Configure Community-Specific Information
Now that you have all the basics set up, it’s time to move on to more details regarding admin, accounting, and management.
As a property management company with more than one community, this is where you’ll delineate who has access to which communities, which custom fields are assigned to which communities and users, and you’ll be able to create custom reports and packages that include multiple reports.
In the accounting section of this step, you’ll associate bank accounts and signatures to each community, set up your general ledger and accounts, manage codes, and streamline the collections process with automated actions like sending letters and applying fees.
The management setup is related to, you guessed it, actually managing the properties. Each setup task involves things that will help you with inspections, maintenance, editing files, managing vendors, and other regularly recurring tasks. Take your time and finish everything, as it will help you save time in the long run.
Voila! Total Property Management in One System
Following these five easy steps will put you on the right track towards success with Enumerate Central.
Remember, we’re always here if you get stuck. You have a dedicated support team for this total property management system, and you can always search inside the Enumerate Central Knowledge Center. We also have tons of tutorials stored on YouTube, so don’t forget to check out our channel.
Be sure to contact a Sales Rep if you have any questions or need anything at all. We’re always happy to help!


